


Growing Microgreens
Microgreens are the small shoots of plants; Basically, younger versions of plants you're likely familiar with like Swiss chard, arugula, basil, broccoli, mustard greens, and more. Microgreens are harvested after the first set of true leaves appear, so they never mature to a full-sized plant.
Learn more about true leaves.
Why Grow Microgreens?
In addition to being easy to grow, they require no special equipment, virtually no space, and they pack a nutritional punch. In fact, recent research shows microgreens contain exponentially more nutrients than their mature versions.
I hear from people who feel overwhelmed by gardening and growing vegetables - they worry about the space and time they need to devote to plants, or they're apartment dwellers and don't think they have any place to grow nutritious food. In fact, microgreens are the perfect crop for apartment dwellers who have one sunny window. Microgreens are the least intimidating thing I grow - they don't require much attention and I don't have to worry about perfectly spacing seeds or thinning seedlings when it's time. I grow them under grow lights indoors because I have them, but a sunny window will do. We're soon approaching the longest day of the year too, so you've got LOTS of sunlight to take advantage of.

How to Grow Microgreens
You can use almost any container -- old pie tins, reused Styrofoam take-out containers, peat pots, or what I use - seed-starting trays.
Dampen your soil. You can use seed-starting mix. (I use Espoma's seed starting mix. You can also mix your own seed-starting mix.
Add about 1-2 inches of soil to your container.
Scatter seeds as evenly as possible across the container.
Add a thin layer of soil and cover with plastic wrap.
Spritz the top layer with water to moisten well.
Put the tray next to a sunny window or under grow lights. (If temperature is a concern, use a heat mat underneath.)
When seeds start to sprout remove the plastic wrap and allow the greens to continue to grow.
Keep soil moist throughout their growth using a spray bottle or light watering can.
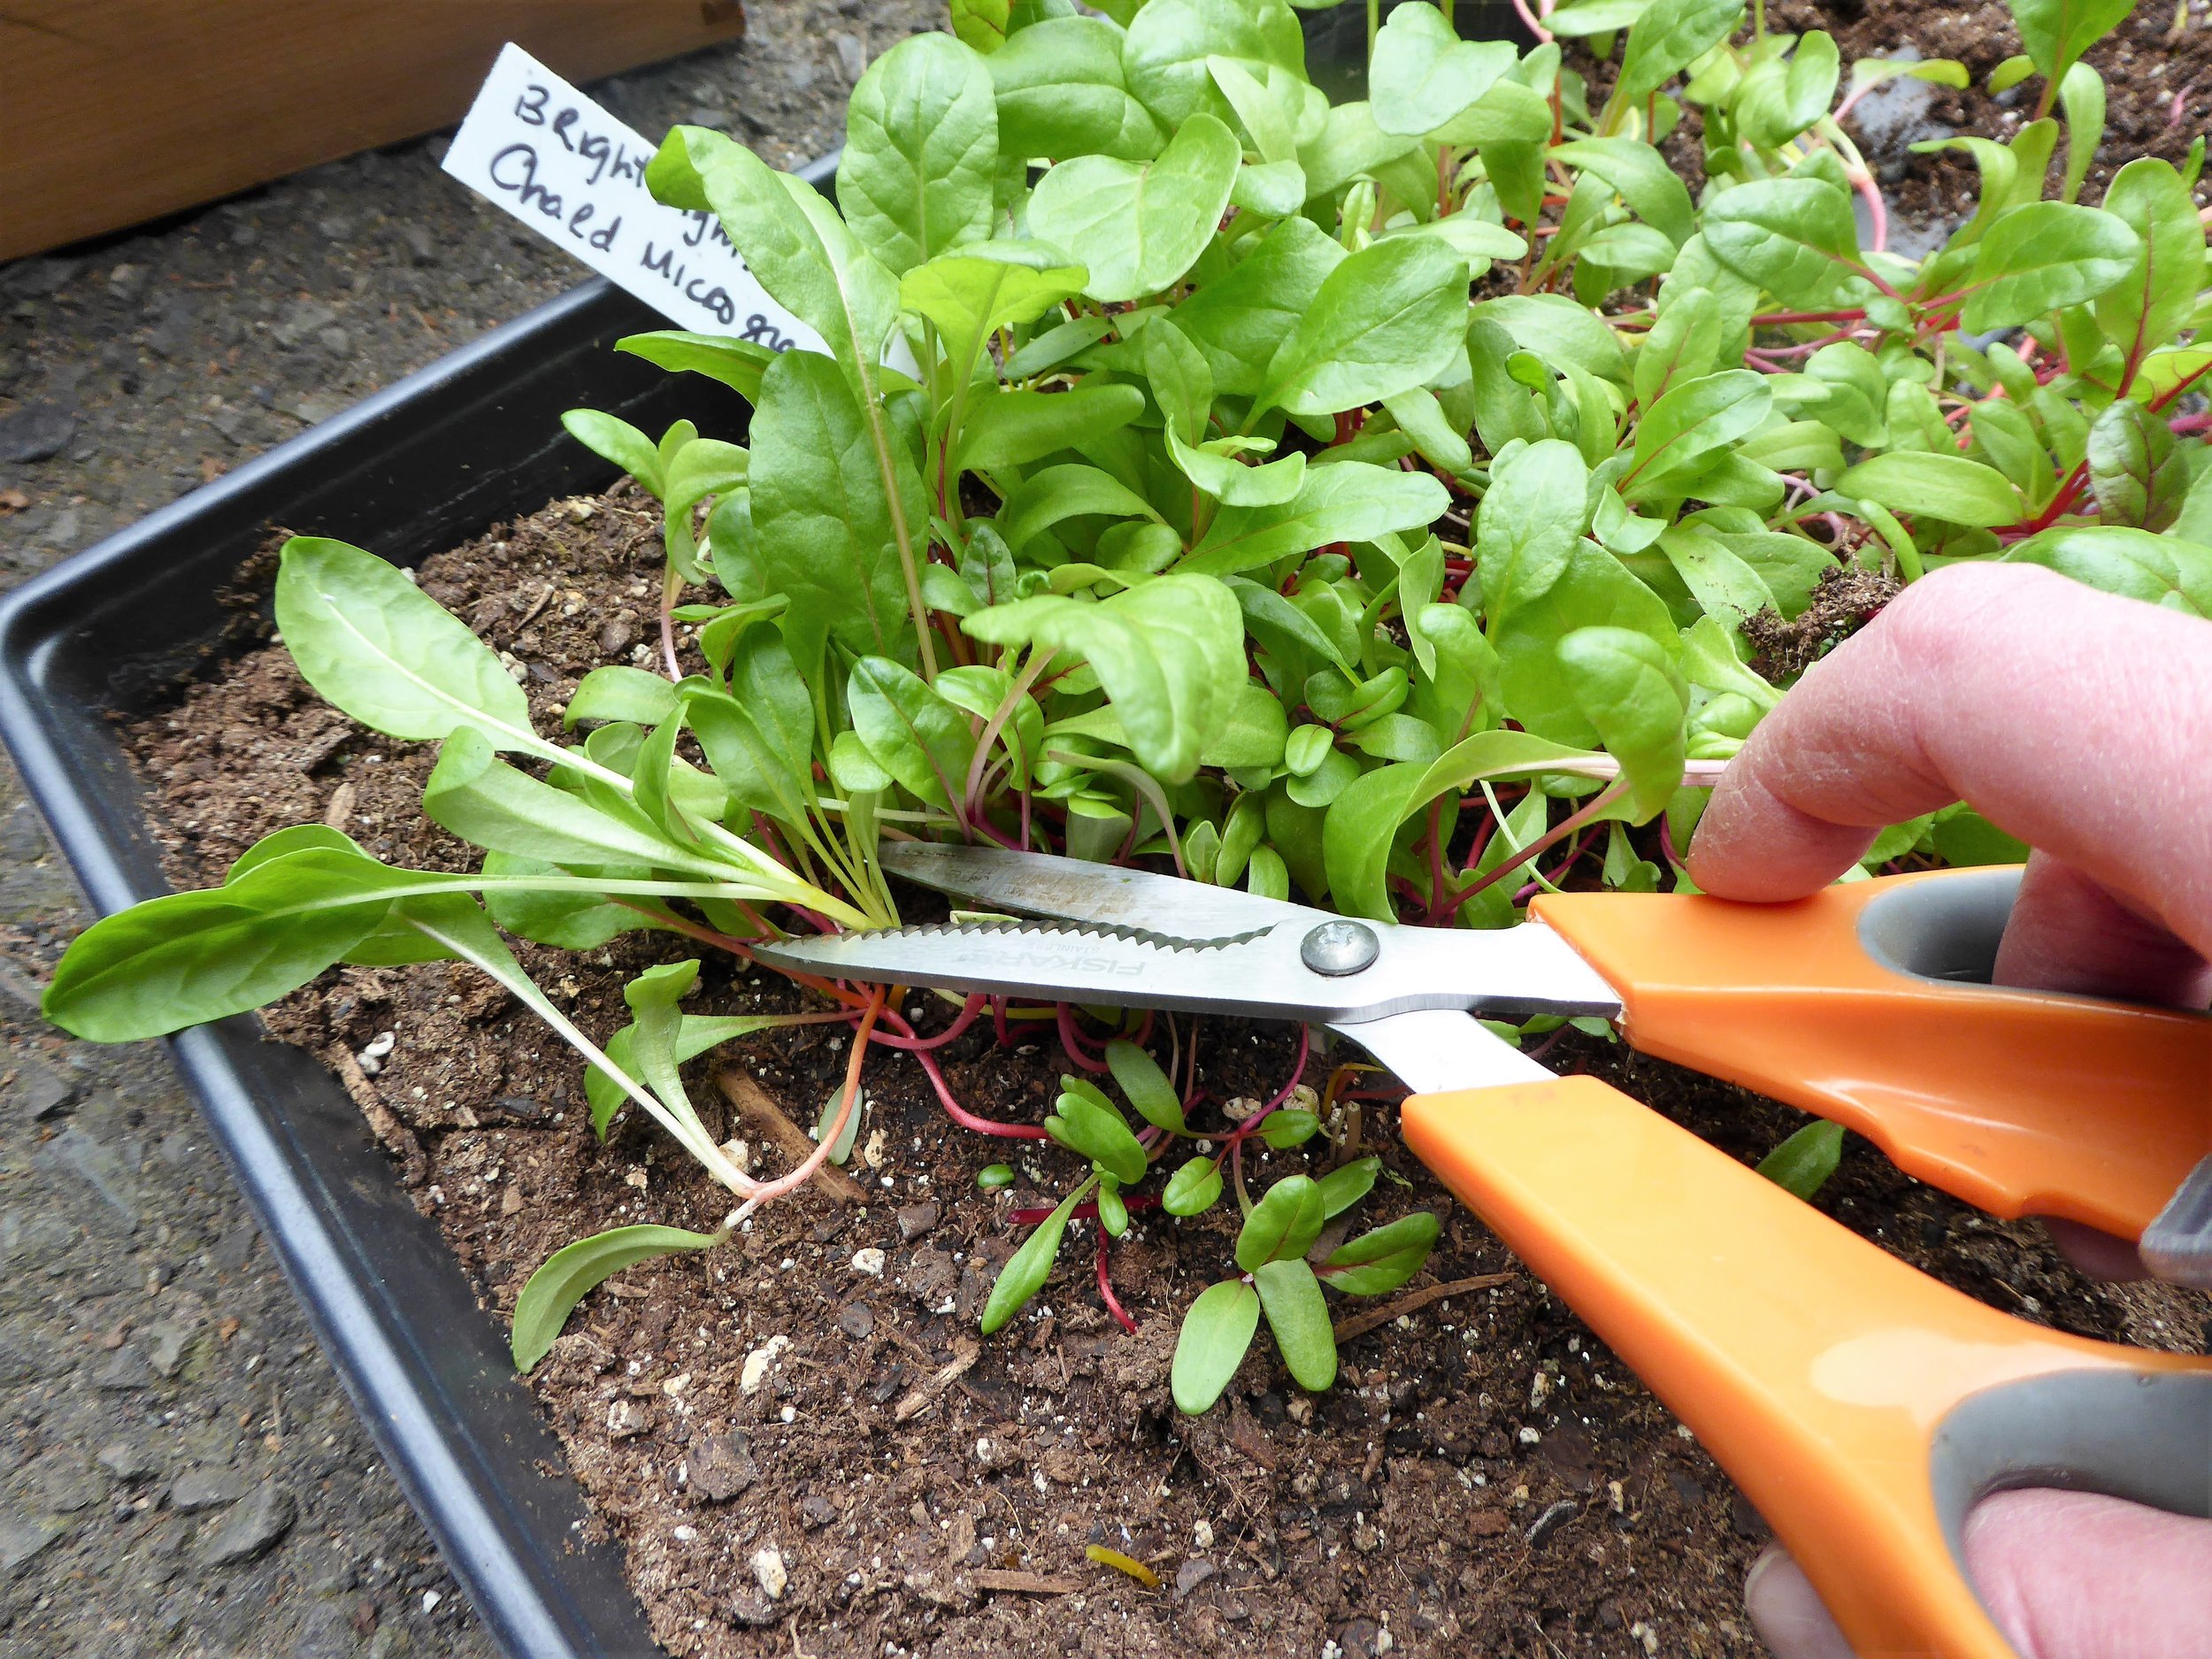
The length of time it will take until harvest will depend on the seed. Refer to the seed packet instructions for details. Microgreens are ready to harvest after the first true leaves appear. To harvest microgreens, cut about an inch above the soil line and rinse the greens. I put my microgreens in a shallow bowl lined with a paper towel and toss occasionally over a few hours to try to dry them out before putting them in a plastic bag and refrigerating them.

Microgreen seeds vary in size - some are smaller than others.


One of my grow light systems.


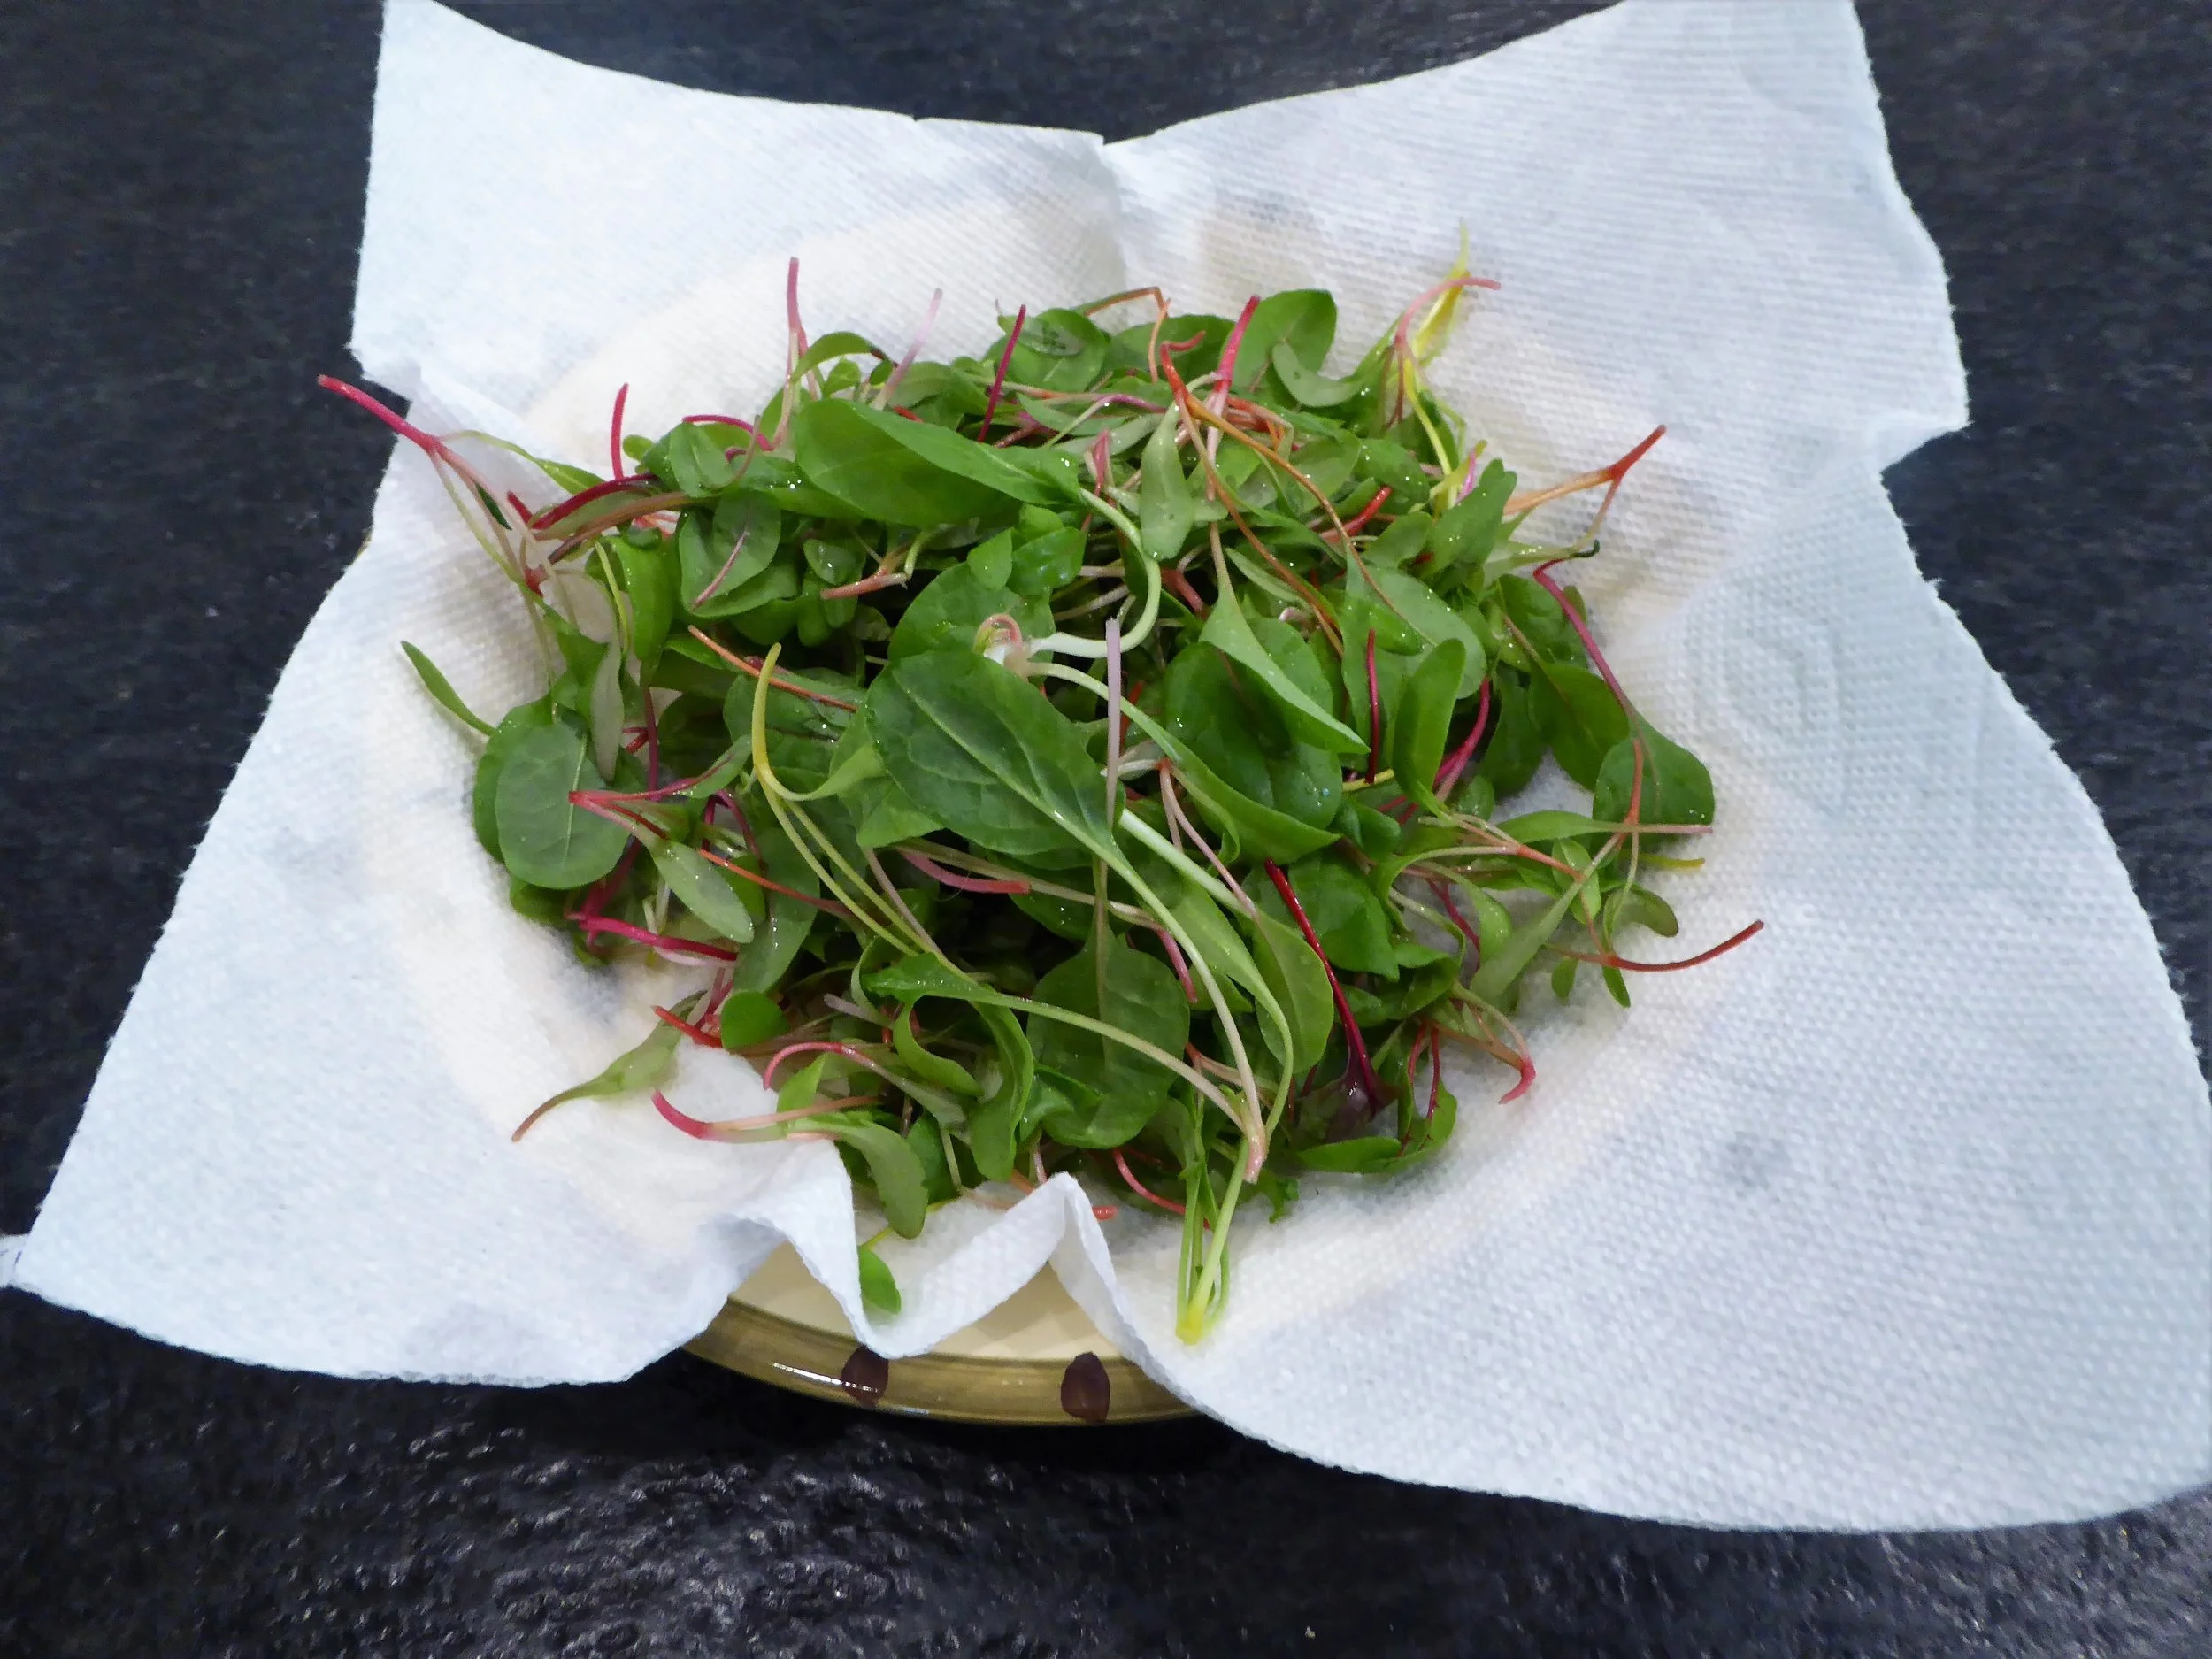
Air dry washed microgreens and dry them in a shallow bowl lined with a paper towel.

