Transplanting Seedlings
The seedlings I planted in February and March have been coming in nicely. Some didn't sprout at all though. Most of my herbs didn't even make an appearance. Not sure why - I may have planted them too deep. The ones that did grow, grew big enough that I transferred them to larger pots.
One of the things I didn't anticipate in my excitement of having so many plants sprouting is that the pots take up more space than the seed trays...I don't have room under the lights for all of them! It's still too soon to put them in the garden and it's been too cold to start putting them outdoors to harden off, so I still need to keep them inside. I ended up transferring about 100 plants into my sunroom. I have heat mats and a space heater keeping the place warm and I opened up all the shades to get as much light as possible. I moved the bigger, more mature plants in there, so hopefully, that amount of light will be enough. Ugh... Please let it be enough. (So far, so good.)

Happy transplants in the sun room

The transplants with heat mats
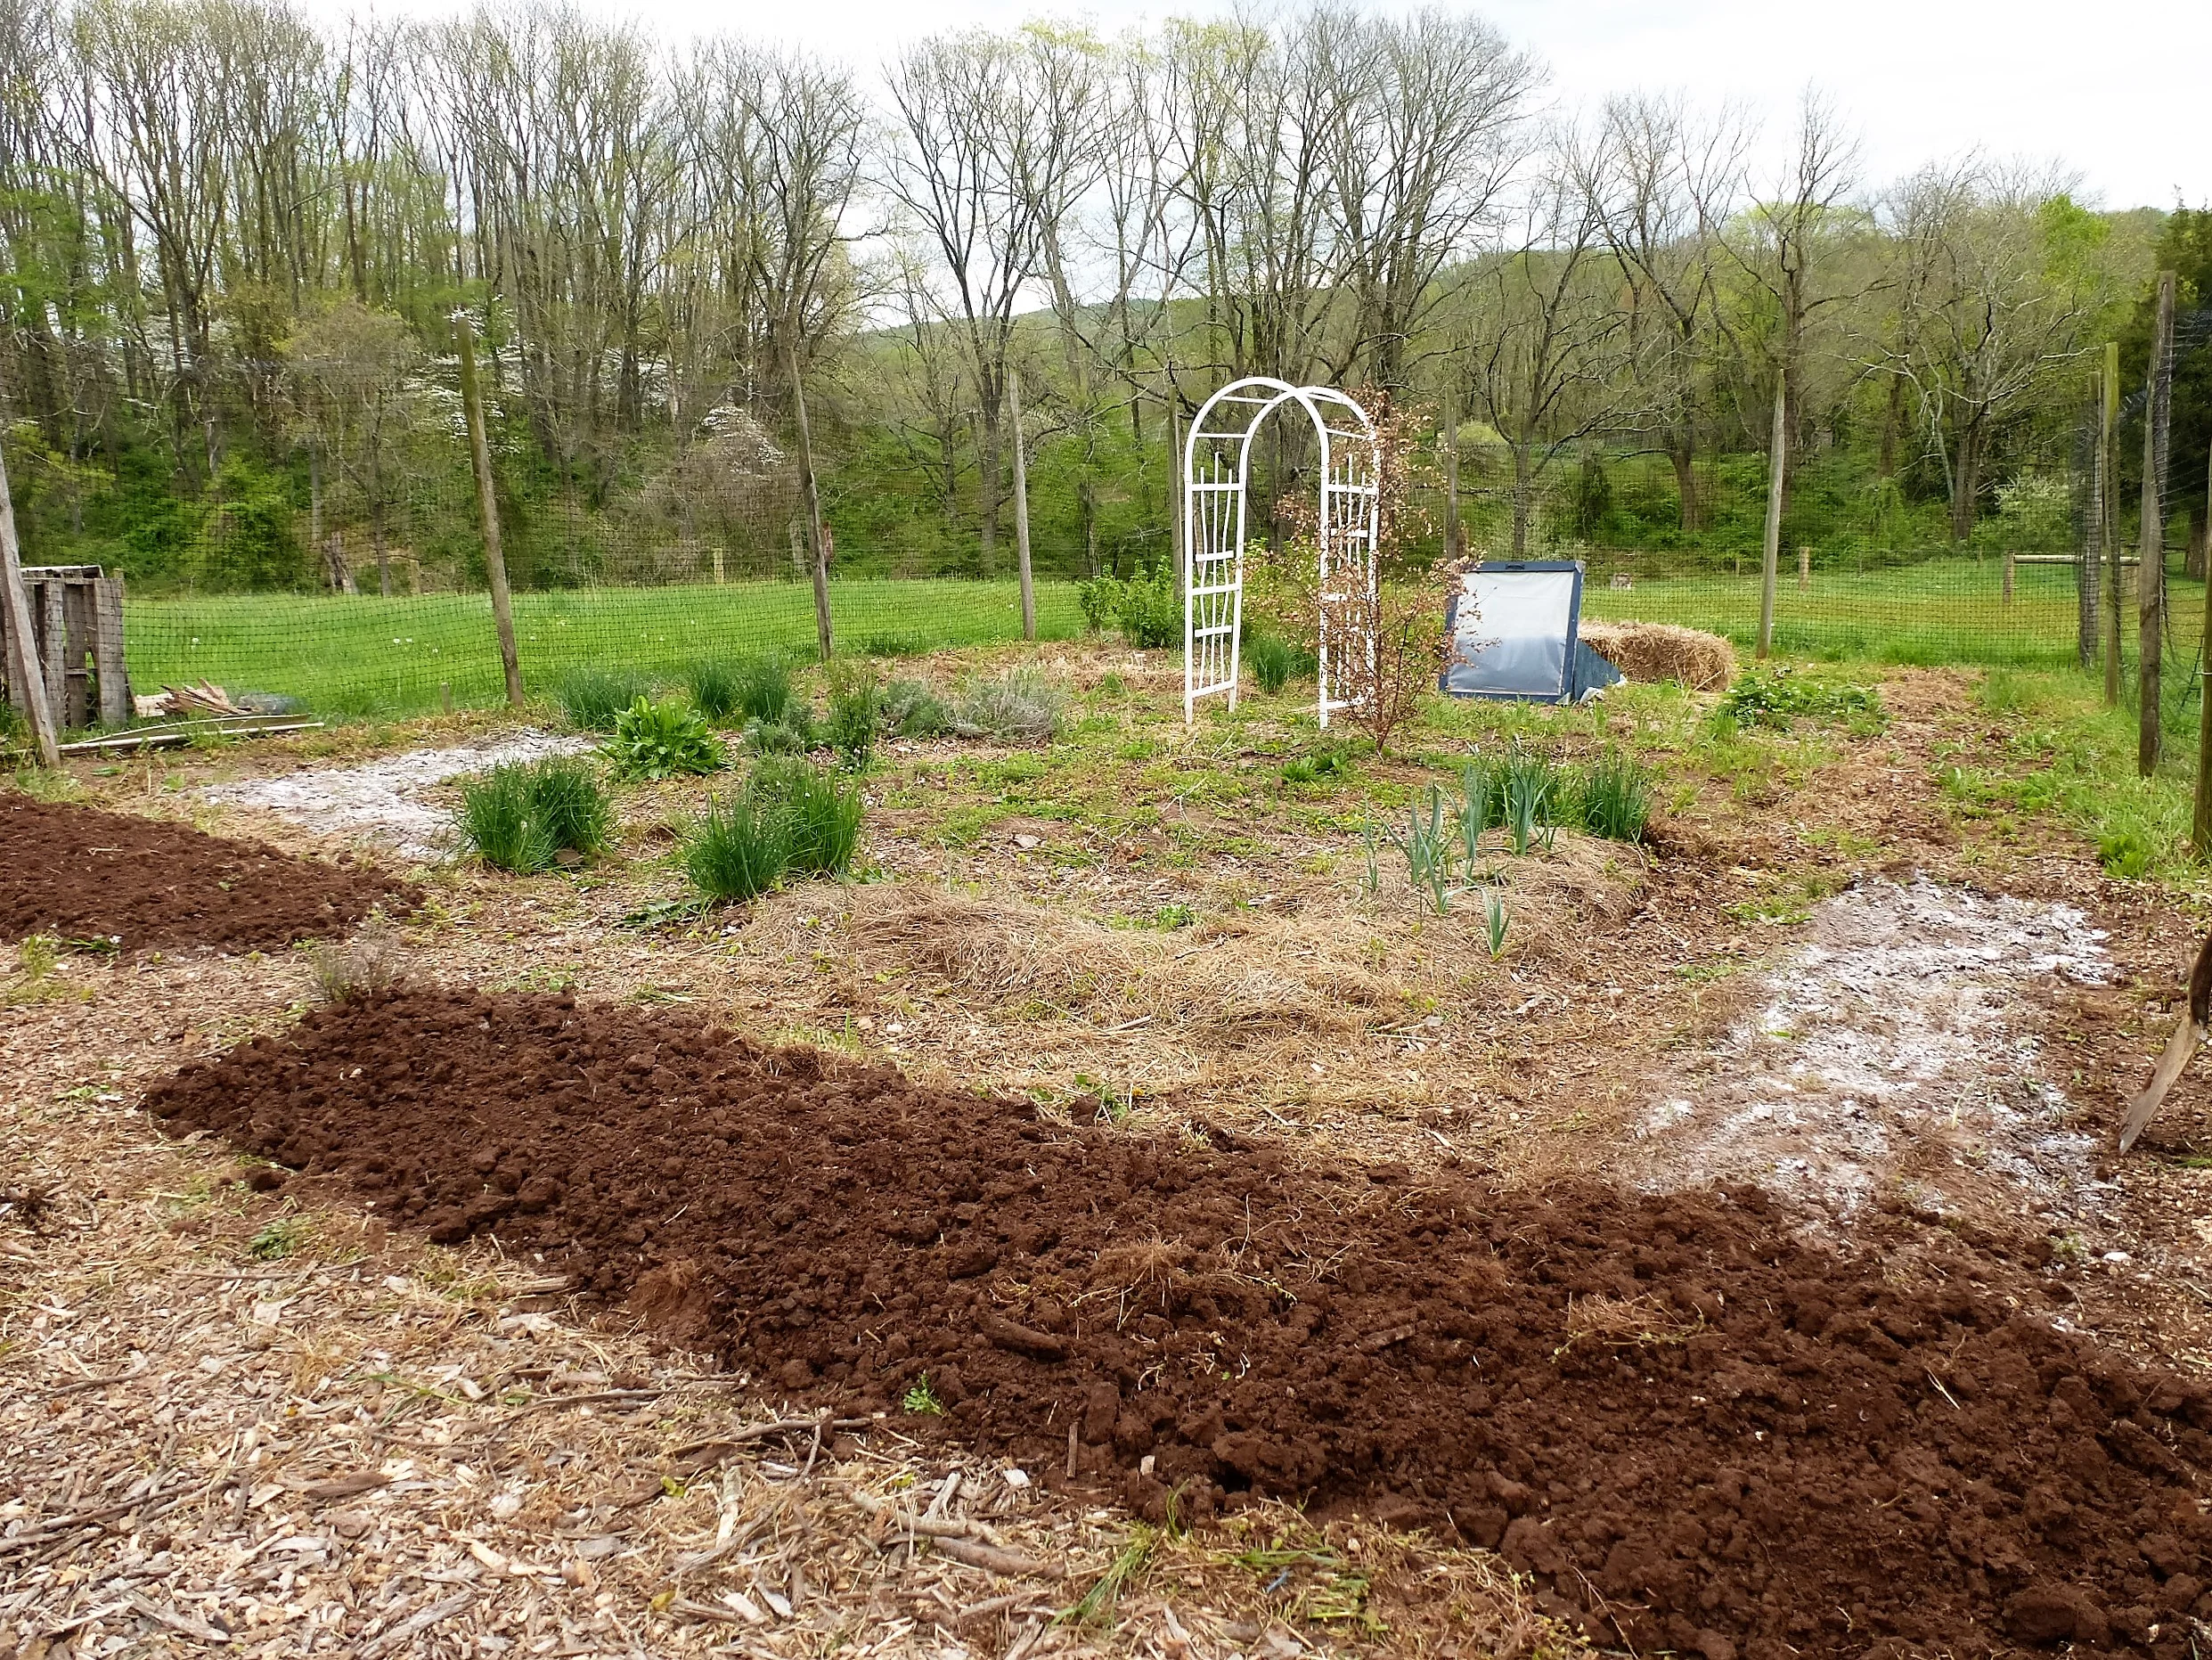
Mother Nature's Frigid Joke
Ask anyone around here about the weather lately and you'll be met with an eye roll and head shake of disbelief. After a fairly mild winter and some early warm spring temperatures, it seems like Mother Nature is thrusting us back into winter. It's been very cold. In fact, as I was outside the other day transplanting the seedlings, it started to snow. Hopefully the temperature will rise as expected this week and next so I can start the hardening off process.

One of my transplanted tomato plants
Transplanting Seedlings
Although it's too cold to plant anything in the garden right now, I did transplant my seedlings to larger pots. They were outgrowing their little seed tray cells and I found that I had about two seedlings per cell, which is too crowded as they get bigger. Whether you are transplanting the seedlings to another pot before putting them in the garden or not, you'll need to strengthen them first through a process called "hardening off." See below for methods of transplanting and hardening off.
When to transplant will vary greatly as plants grow to different sizes. Generally, the plant should have at least 3-4 true leaves before transplanting.
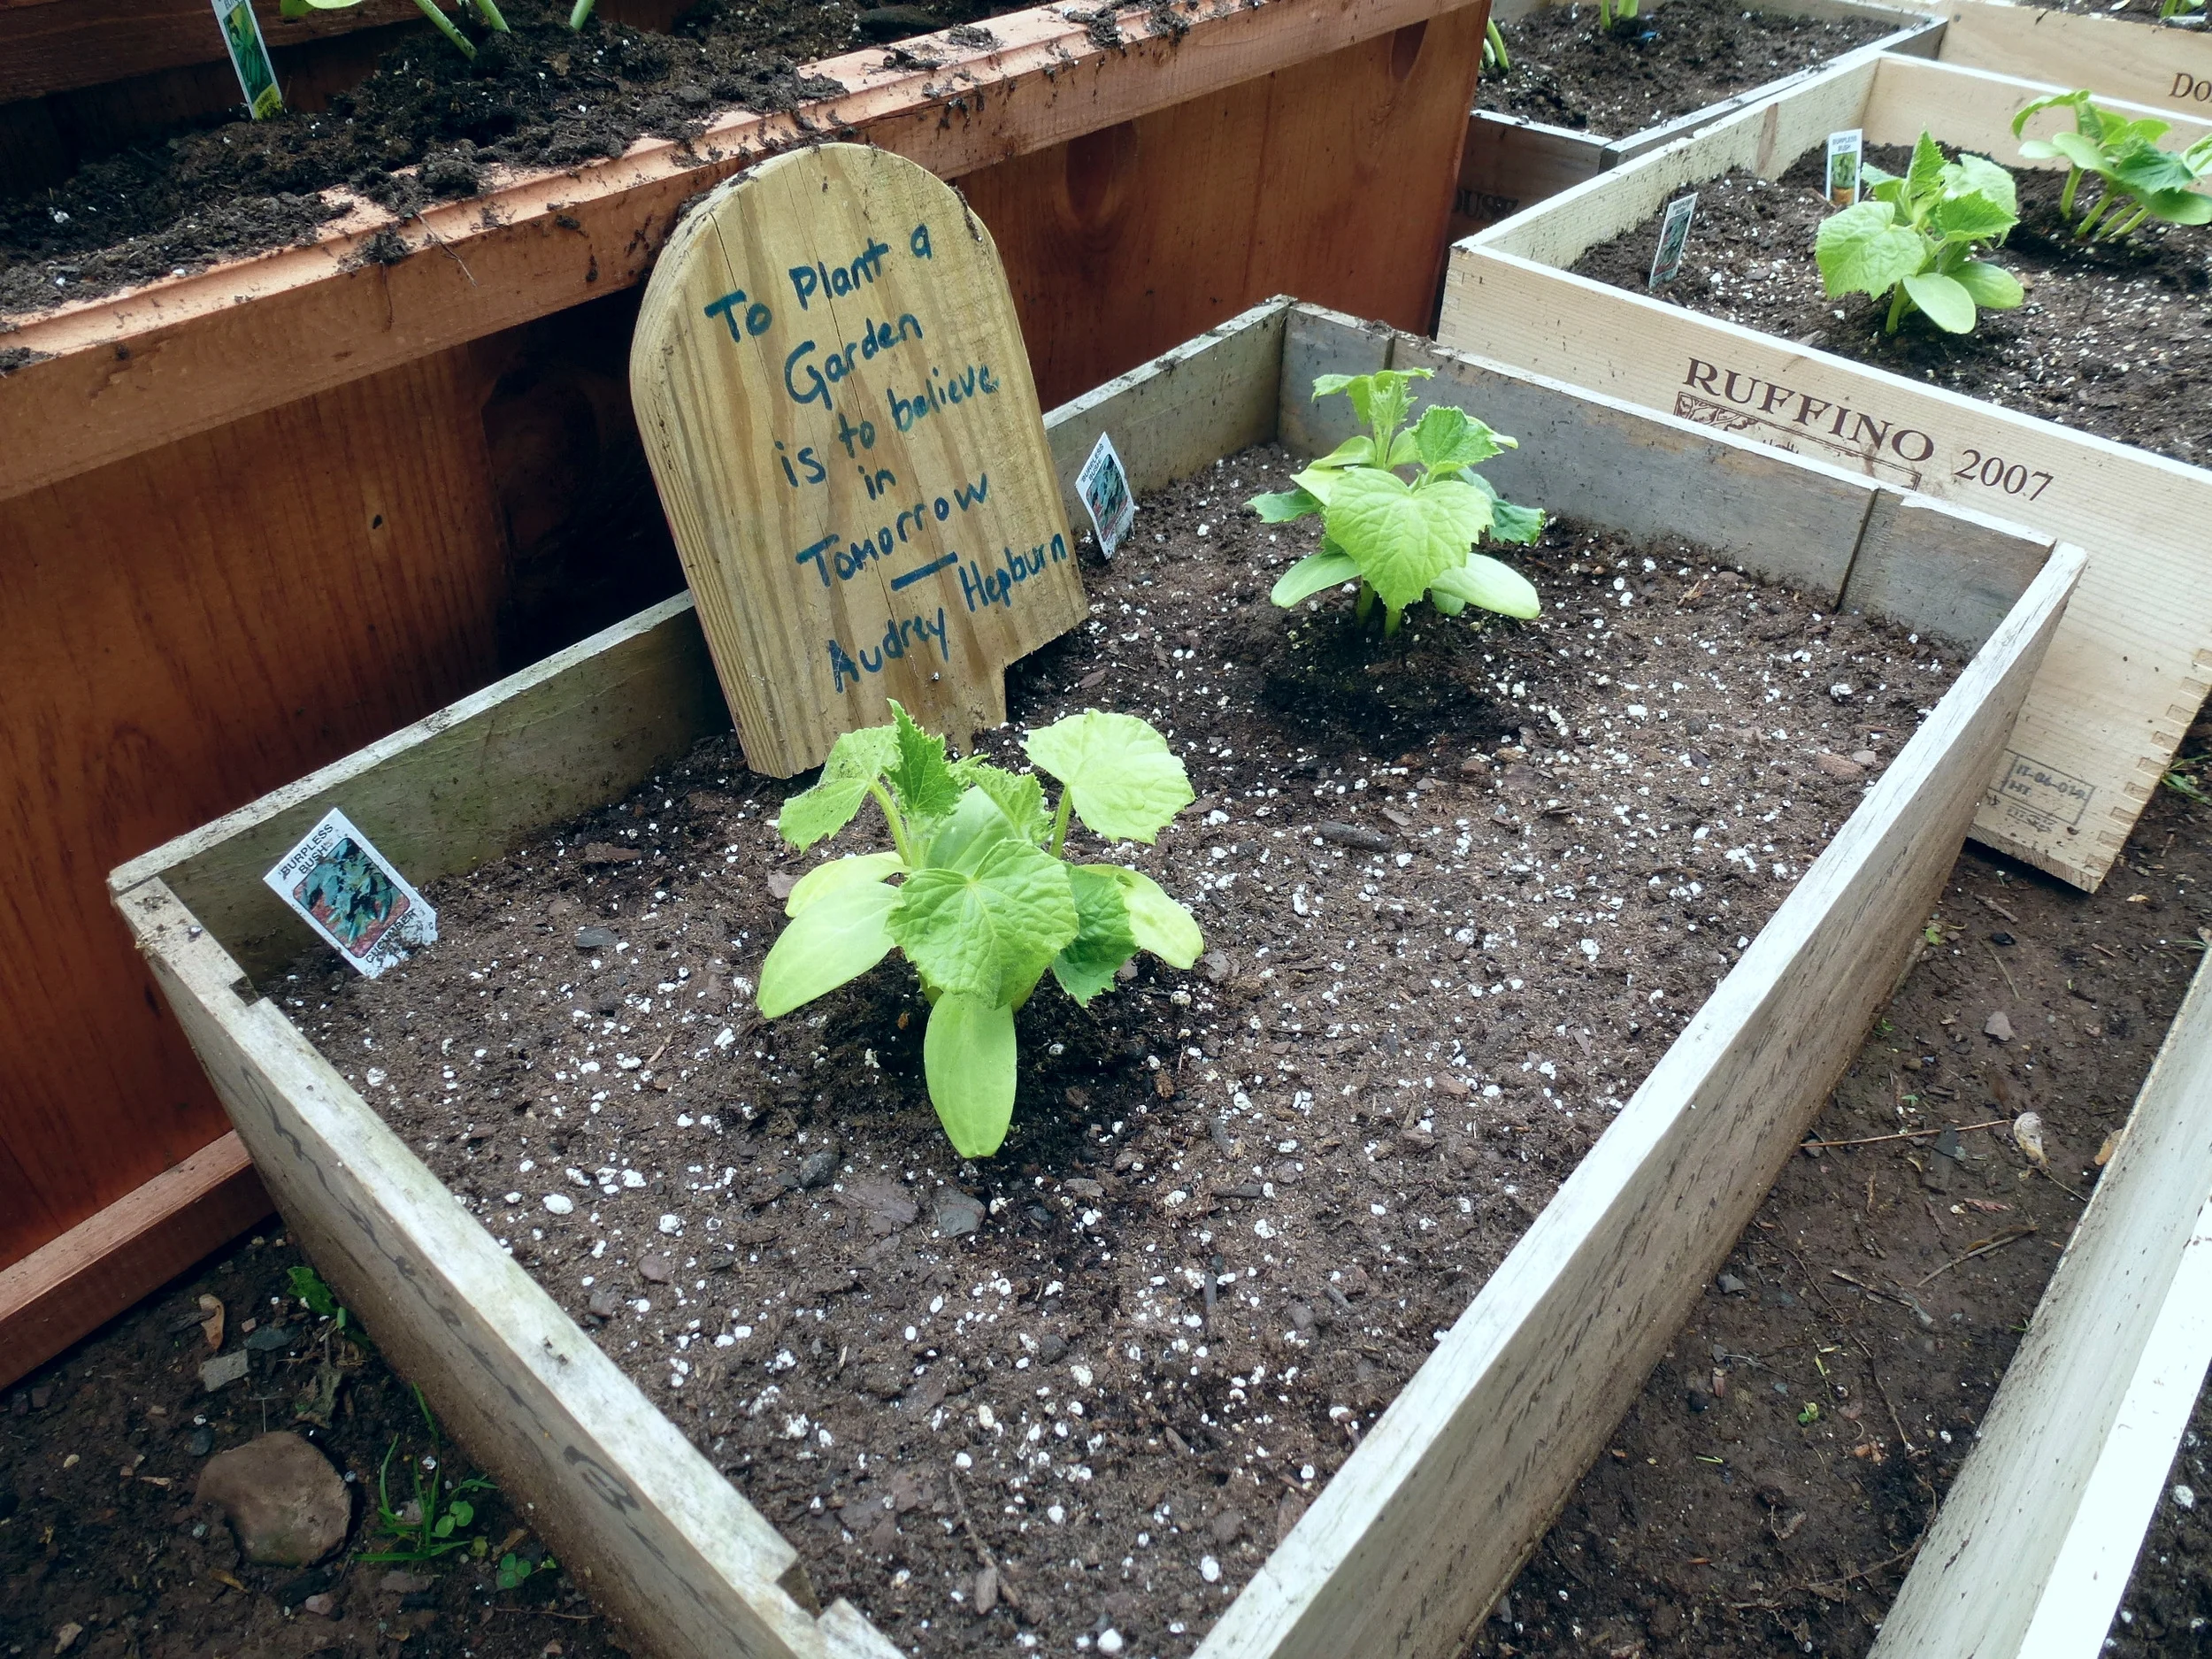
Transplanting to Larger Pots
This is a good thing to do if it's too cold to harden off or to plant your seedlings in the garden, but they're too big to remain in the seed-starting cells.
Fill a 3" or 4" pot about 2/3 full with potting soil. Add a little bit of water to the soil to moisten it and poke a hole in the middle with your finger or spoon where the seedling will go.
Remove the seedling(s) from an individual cell carefully with your hands. Don't pull on the stem. I just dig my finger into the bottom to lift the whole thing out. It should come out pretty easily.
If your cell contains more than one seedling, very gently loosen the roots to separate them. Be careful not to disturb the roots too much. In some cases, they can be a big mess of tangled roots. If you find it's too difficult to separate them, you may be better off just trimming one seedling off and planting the root ball as is. Use your best judgment.
After placing the seedling in the hole you've made in the soil, add more soil and pack it in gently. The seedling should be firmly in place and as straight as possible.
Water the transplant.
Repeat with each seedling.
Place them back in their safe, well-lit location. (I put mine back under lights and in my sun room with warmth.)
Hardening Off Seedlings
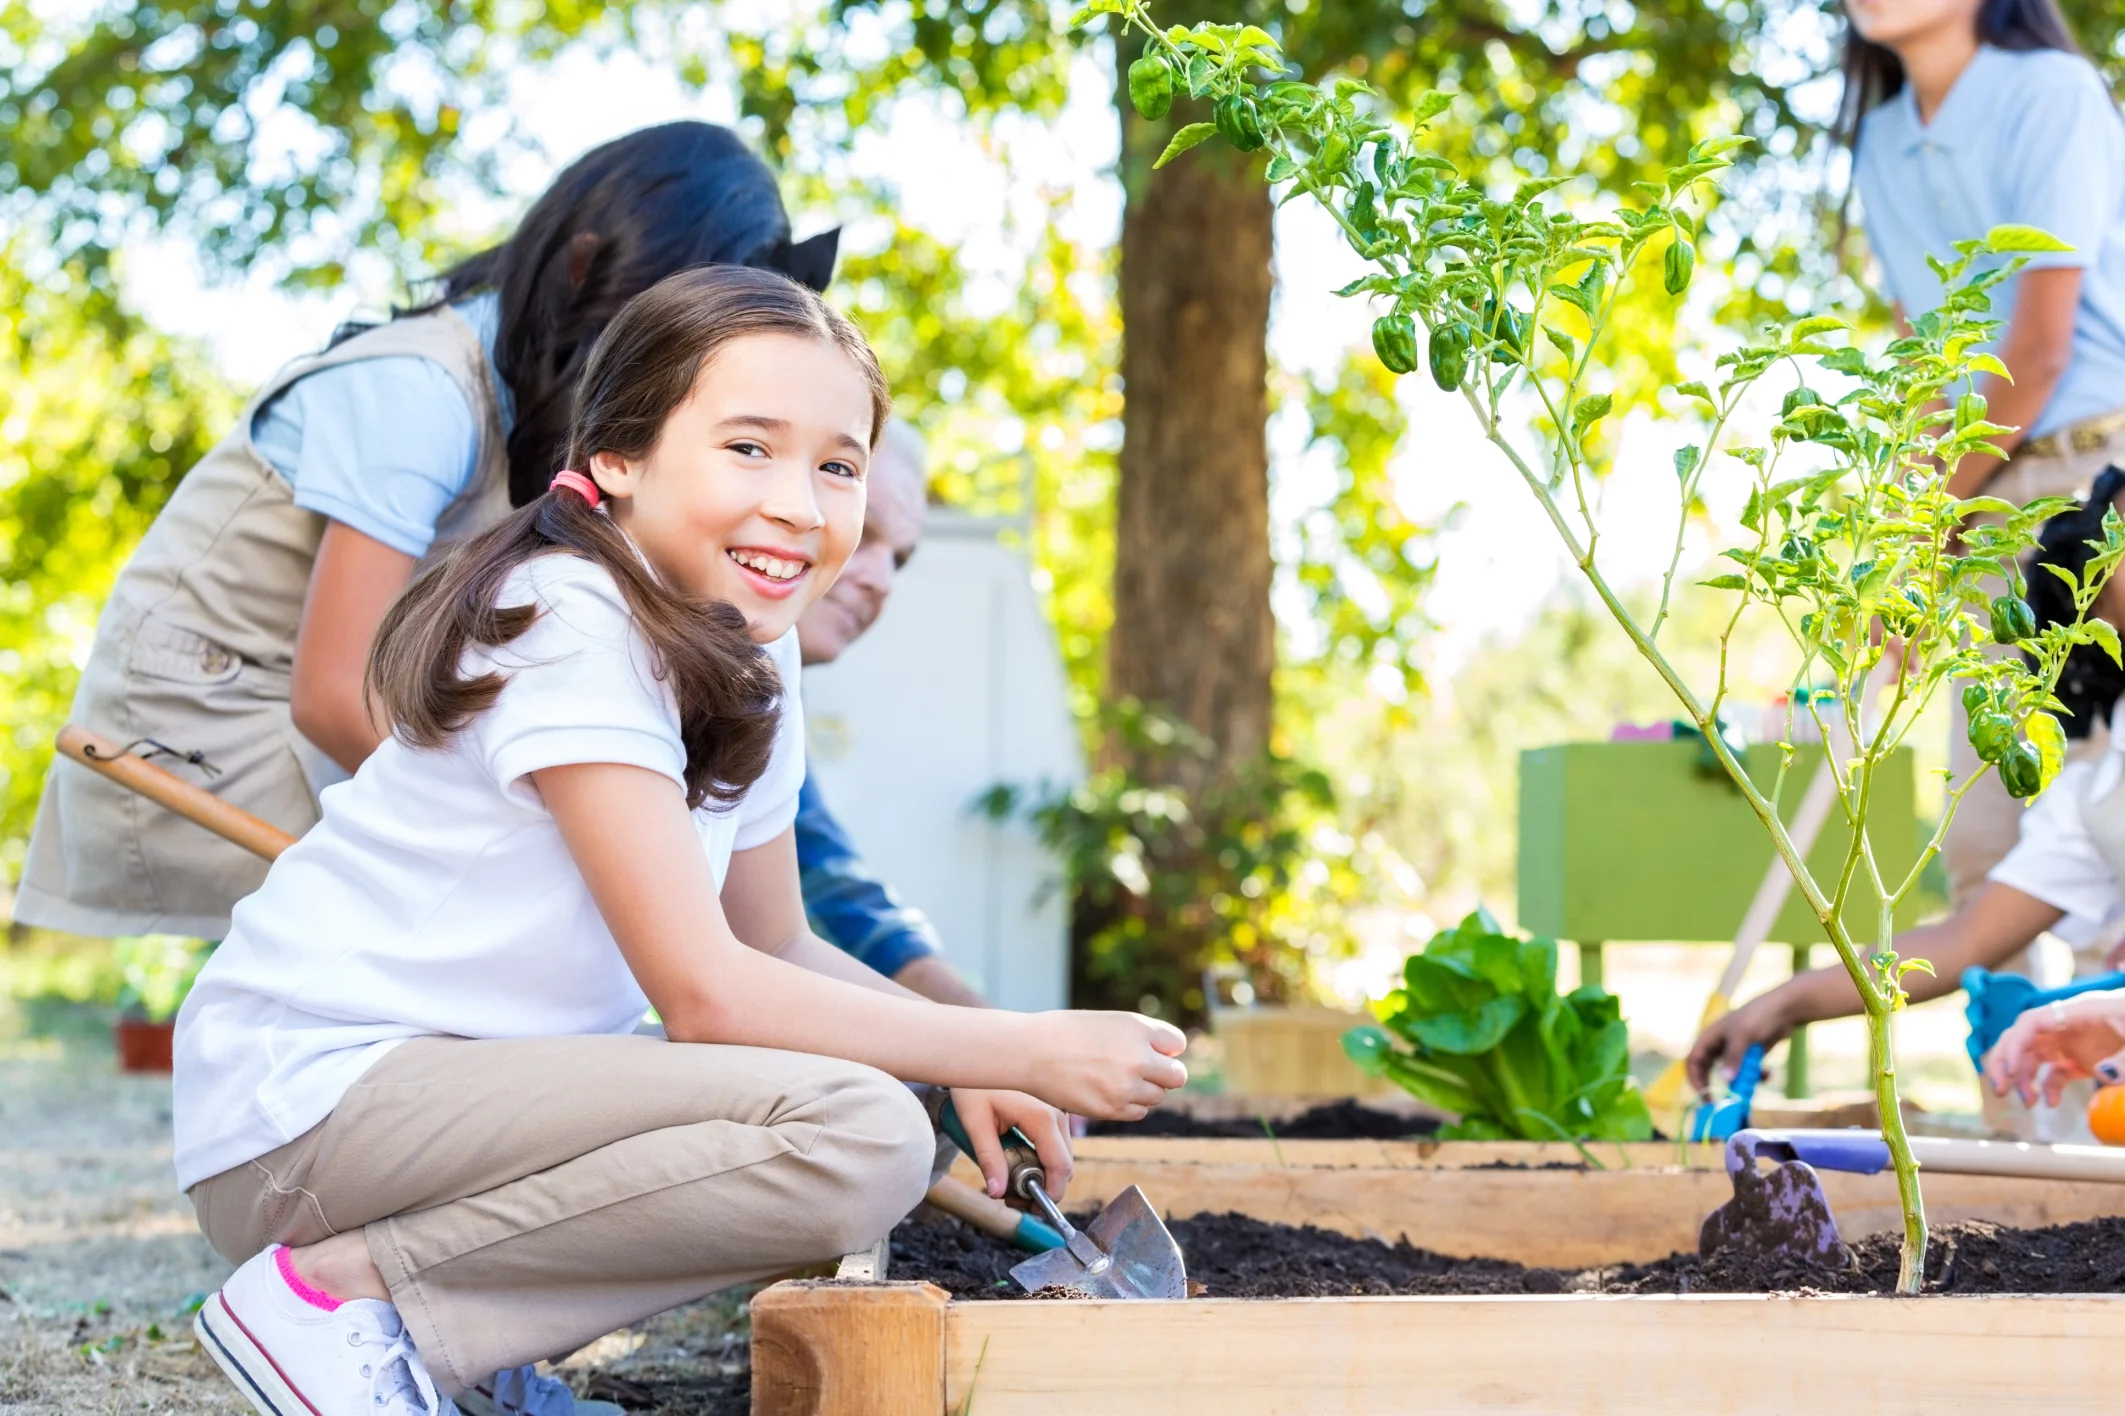
Before transplanting seedlings to the garden, you need to prepare them for life outdoors. They've so far enjoyed the indoor controlled environment, which enabled them to get stronger. At this point, they haven't gotten used to wind, temperature fluctuation, or natural sunlight. To harden off seedlings, about 7-10 days before you're going to transplant them to the garden, put them outdoors in a shaded area. Start with one hour on the first day and increase the duration each day by an hour so that by the end, they'll have been out for 7-10 hours a day and they'll be ready for their life outdoors in the garden. This can be a challenge to do, depending on your work schedule - I know it will be a challenge for me. Don't worry if you're not strictly following the 1-hour per day increase - just putting them out for a couple of hours a day and increasing it a bit until they can take being outside for the full day is fine. Keep the plants watered.
TIP: If you've transplanted the seedlings to pots, put them in a tray to make it easier to take them out each day.
Transplanting to the Garden
Whether you grew the seedlings yourself or purchased seedlings to plant in the garden, be sure they've been hardened off first. If you're able to, transplant them to the garden on an overcast day or later in the day when the sun is not at its strongest, so they're not being hit by direct sunlight. They're still new to this whole "outside world" thing.
To see if you're soil is ready for planting, follow the Farmers Almanac tips. You can also check out their planting guide by state/city to find out when it's best to plant in your area.
To transplant the seedlings:
Before planting the seedlings (or any direct seed planting), mix about 2/3 organic soil with 1/3 compost in the container or garden bed. You can also add organic fertilizer appropriate for what you are planting. This can be done a few days before transplanting.
Water the soil and dig a hole where the transplant will go.
If taking seedlings from a seed-starting tray, dig your finger into the bottom and lift the entire plant and root ball out. Never pull them out by the stems. If you've transplanted them to pots, you can just put your hand over the top of the pot, with the stem between your fingers while you tip the pot over and shake the plant out gently, keeping as much dirt around the roots as possible.
Handle the plant by the roots not the stem and place the plant into the hole you dug.
Cover the plant roots and some of the stem with dirt/compost. Make sure they're planted firmly.
Water the plants well.
Stake the plants or add supports shortly thereafter. Plants like eggplant, tomatoes, peppers, and others start needing support early in their growth, and adding supports much later can damage the roots that have grown since you transplanted them.
TIP: In many cases, it's best to plant the transplants deep. This is the case with tomatoes. Snip off the bottom leaves and plant them deep - those fuzzy hairs on the stems will strengthen the root base. However deep you plant them though, never bury leaves in the soil.
I'm sure most of you who live in my neck of the woods are eager for gardening season to be in full swing. Take care of those seedlings and give them a proper introduction to the garden for a productive season. Happy gardening!